Sunday 16 August 2015

The silhouette Curio

I was very lucky to have a new curio this week, and have spent the week playing and learning how to use it.

There is only a little addition to the software used for the cameo, and so the learning curve was not so bad for me, but I will bear in mind that someone who buys the curio as their first machine, will have a far greater learning curve.

Now the question is do I think the curio is worth its money? well yes, if it was the first machine I had  bought and I was 'only' a card maker then I would be highly delighted with this machine. Its cut surface is more than big enough for card toppers, I can print and cut with it and use my pens the older gel pen holder fits in the blade housing perfectly. I can do anything that I did with my cameo only on a smaller scale. I  have cut card upto 300gsm so far and it cut well. It looks like it will compliment my cameo perfectly.

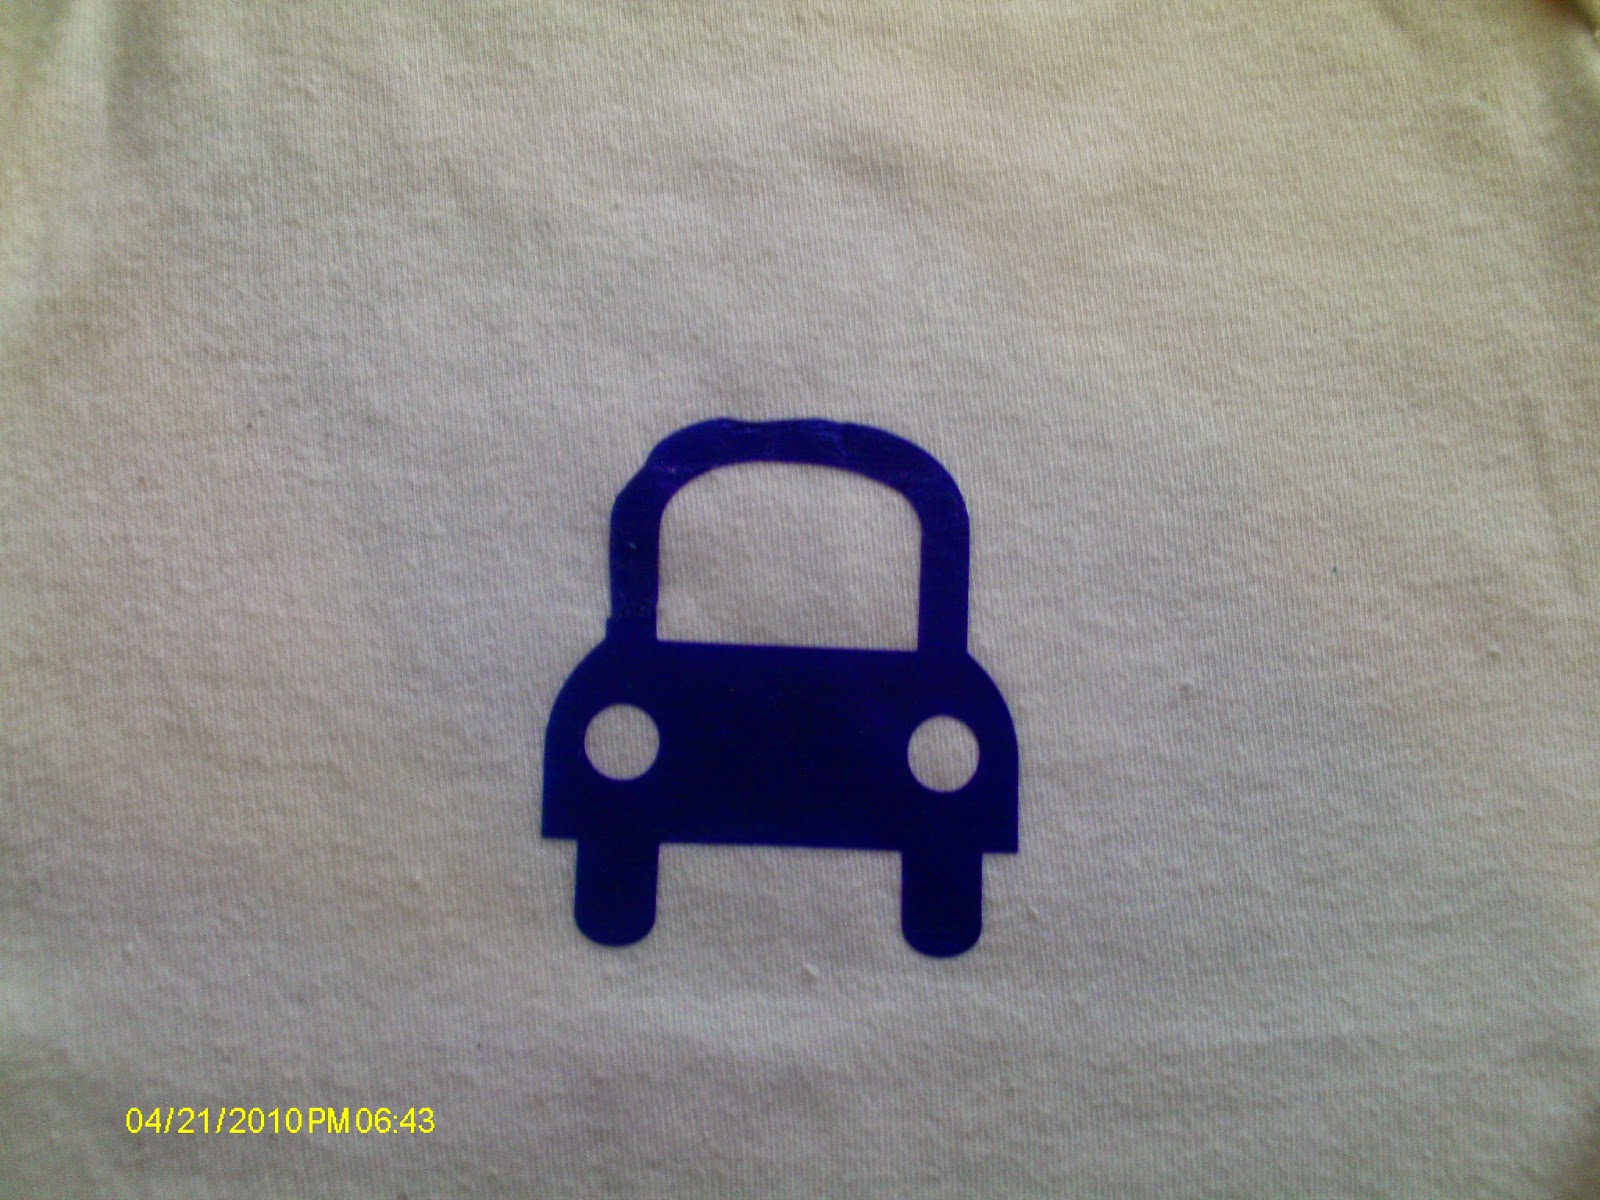
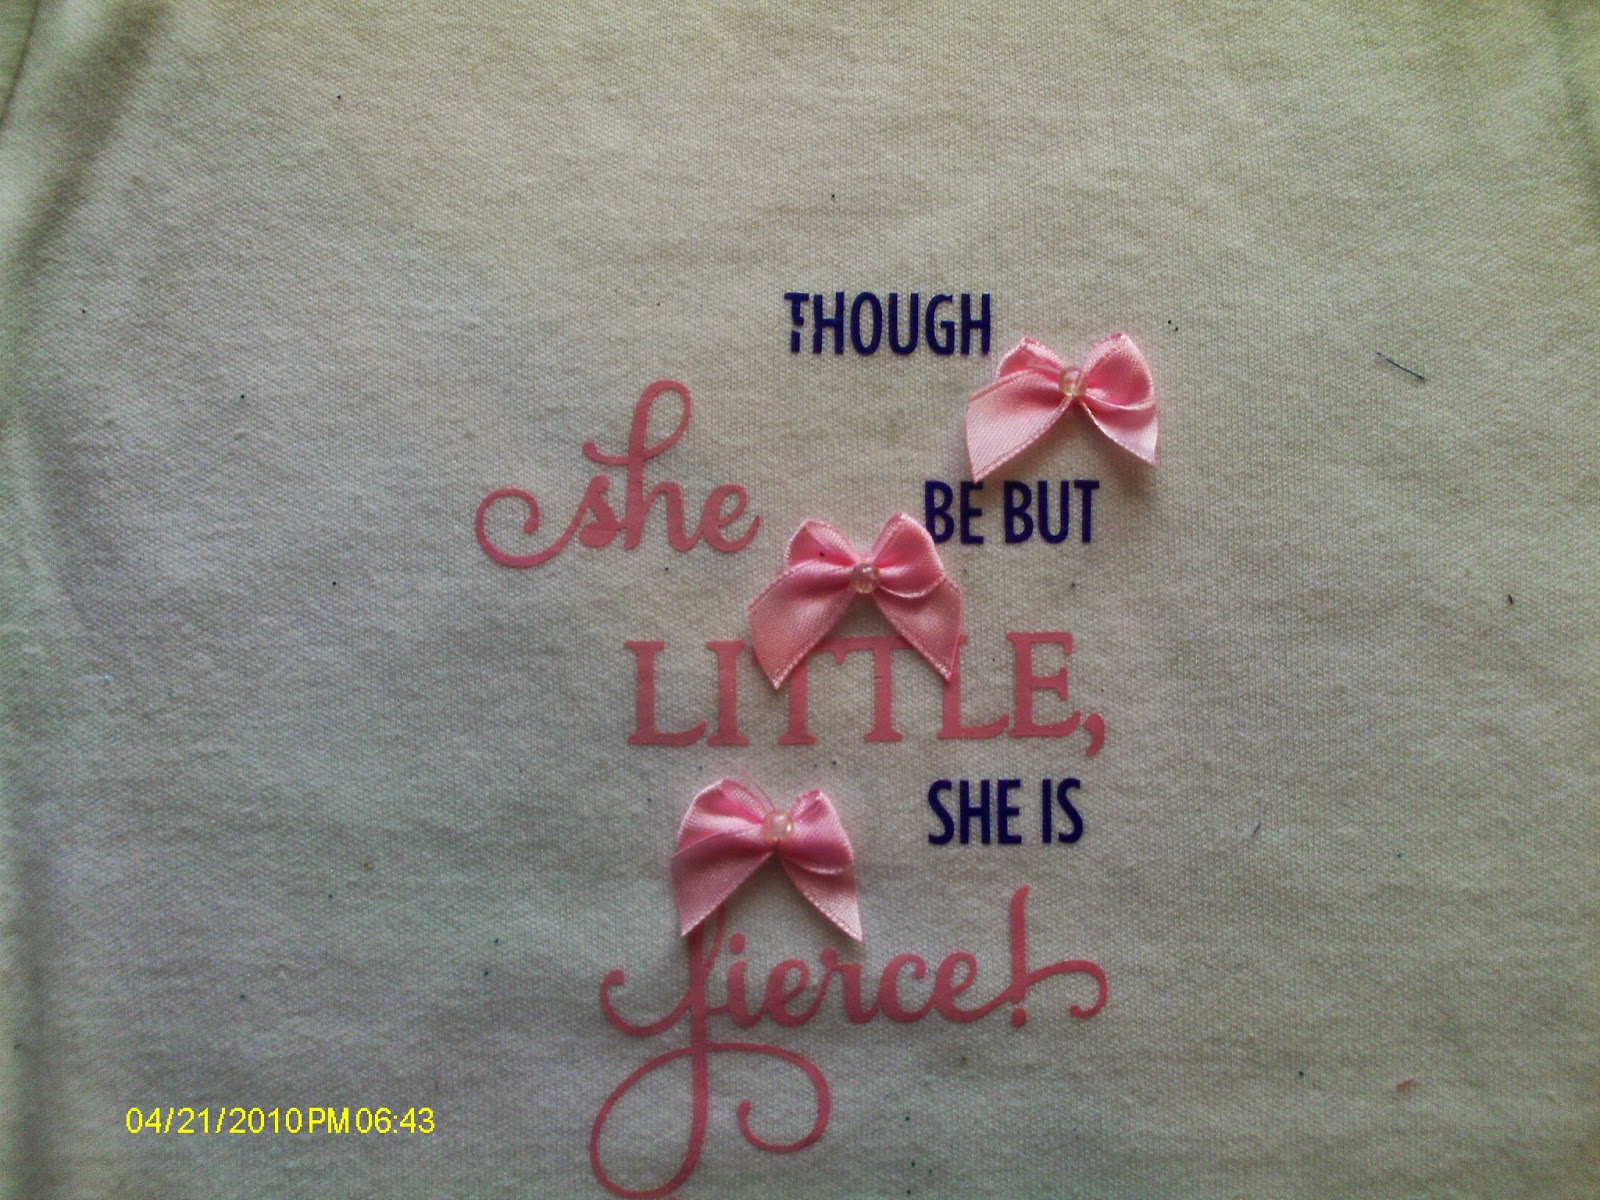
Here are a fw samples that ive made this week

This was my first attempt at embossing, it looks very faint, but I went in without reading the instructions, had I done so then I would have removed a 1 plate and when I did that it turnered out much better

This is a white uncoated piece of card 250gsm and I think it turned out pretty well and would be happy to use that as a background on a card.

This is a box the biggest I could make on the curio the card base was 270gsm card from Llidl it cut beautifully on the curio as you can see.There will be a larger mat out around October time so the boxes and 3d items you can make will increase with that release, so that would be well worth getting.

Finally I tried my pens to compare with the cameo


As you can see the pens were as excellent as with the cameo.

I made lots of different things that I can not show for now as they have been sent for the design team,
and more importantly I was behind and forgot to photo them! (silly me)

All in all I like the new curio and think it best as a cardmakers machine or a stand along side the cameo.one. My cameo will be plugged in along side the curio and will both have good use.

Thank you for looking
love debby xx

Wednesday 5 August 2015

weekend crafting

This weekend I am having a new toy to play with and I cant wait!!

I have no choice but to craft all weekend getting to know my new toy and will show you some  sneak peaks!! I have card paper and alcohol inks all lined up ready for use!

It is a machine that will be a dream for card makers and crafters alike

hope you check out my blog on the weekend

love debby xx

Tuesday 28 July 2015

3d square Ink Holder

As I havent really crafted in a while I decided to make something from the silhouette store that would be useful in my new craft room, and whilst emptying one of my numerous drawers, I felt a little sorry for my ink pads that had litterally just been chucked in the drawer (Yes Im blushing at the carelessness of it) and so I found this lovely st of holders for my inks. The design is by Jamie Cripps and the design ID is *45605.

As the holder is designed to fit 4 ink pads in I knew I would need more than one to start so I had a design here that would stack which was just what I wanted.

I used Silhouette brand chipboard


 I had a new blade as I had managed to chip my last one! so the chipboard cut perfectly on the recommended silhouette settings of blade 5 speed 1 thickness 33 double cut,  if I use a  well used blade I sometimes have to adjust the blade depth and my old cammie never worked on the recommended setting but all machines are different and you just have to take the time to get to know yours!

 I cut out enough chipboard to make 2 holders, and so the constructing began....

It was easy to do, much easier than I thought it would be once I sorted out the drawers from the drawer cases.

I used a bone folder to give me crisp edges,


 and I used the red tape to stick it together because I knew I needed something strong to hold it


 The outer drawer was  easy to construct too, but you have to make sure you crease the lines precisely other wise the drawer doesnt fit! (yes we all know I made the sloppy mistake first!!!)


The 'outer box' as it were was a simple make with 4 little bits of red tape

Here is a finished one...


I then added my second one on top and stuck it down again with red tape

As you can see, if you make 4 you can have them stand 2 up side by side and have a nice storage unit for your Ranger distress inks and the like!..you can also decorate them as you would wish. I chose to decoupatch mine and used some decoupage paper from Hobbycraft and some mod podge glue..

The mod podge glue gives it a sealed finish and so I didnt have to do anything else to the holder.
I used the silhouette  printable foil and a black silhouette pen to make labels of the colours of myink pads so I could see them at a glance.

Hope you like it and it gives you some inspiration for your own craft makes.

Thank you for looking
Love debby xx
I have been noticable in my absence the last couple of months....firstly I was admitted to hospital with palpitations and had a little stay but its all been stabilised now and Im back to my normal level of fitness. I have also in the last couple of weeks been given the diagnosis of psoratic arthritis which has explained some  unknown pains Ive been getting for the last year or 2. Now I know what it is Im up against  I can deal with it....

The biggest stress on me has been released as our house has been saved and is no longer up for demolition....the council could not get all the people to sell that they wanted and so their plan for redevelopment is now no viable so I get to stay in my beloved home yay party on!

All the stress that was holding me back is gone  now and Im hoping that my craft inspirations return with a vengeance! Im having yet a new craft room, Im going back to myold one as I preferred that room to the one Im in now and Hubby is hammering and constructing as we speak ...I cant wait.

Im off to make some storage for my new room see ya soon

thank you for reading this
love debby xx

Wednesday 5 November 2014

A Wreath

So Dad is well enough to go back to his day centre 2 days a week, and he loves going and having the company to talk to. He rarely asks anyone to do anything for him so I was more than happy to make this wreath for him to take to his day centre to be sold to help raise funds.

I started cutting out flowers from the silhouette store and some that I made the files for and have used time and again on various wreaths especially the roses made from scalloped circles! they always go down well. I joined a flower making group on facebook  and some of the ladies flowers there are superb and I  just wish I was as good at making flowers like them, but one thing I have learnt is that they use their spectrum noirs an awful lot! I just had to make this one very quickly though I only had 3 days to make it and by doing a 2am night I managed!!


I tried to choose bright and colourful flowers because most of the people at the day centre are partially blind so I hope that a bright one would help them see it a little better. I decided not to do a christmas one or even a summer one just a bright one!

It took about a 6 hours to cut all the pieces for the flowers and I had intended to make 2 or 3 but after cutting so many and it only doing one...well...one had to do...then I realised I had used a much larger ring than I usually do so no wonder it took so many flowers.


I particularly liked the blue cornflowers from the silhouette store they were so easy to put together and look fab in real terms. I cut some of the leaves on my cameo and hubby cut some from a die he had.

Some one asked me what tools I use to make my flowers...well I havent bought anything special, I use a 6mm ball tool and a wooden kebab stick (which I find invaluable for shaping) and a foam stamping mat I got years ago and never used, and of course my trusty glue gun....

Having made this wreath I came to the conclusion that me and a glue gun are a dangerous combination, as I managed to burn one finger 3 times and 2 other fingers and my leg (dont ask!!) but Im hoping the end result was worth it...


Thank you for looking, if you want more info on how to put a wreath together then I have several older posts explaining how to...

Love debby xx

Sunday 8 June 2014

Heat transfer vinyl

This week for my design team work I was sent heat transfer vinyl (htv) to play with. It was something I had never plaayed with before and I was interested in giving it a go as I have seen many a project around the web that people have done and it always looks fun.

I was sent a sheet of pink, blue green purple and light blue. I was also sent some heat transfer flock but I havent played with that yet.mmmhhhaaawwww....

I wanted to do something that would really stand out and be noticed because it was for the television show so ordinary really wouldnt do. I found a lovely free file on a group on facebook of a lovely hummingbird and made a cushion that was very very easy to make and did the hummingbird. I loved it and was very pleased, but alas I was too trusting and took the lady who gave the file away free well i took her word that it was a henna tattoo file that she had traced.... it turns out on further instruction to be a stamp by a well known company so I wont be showing that any more, and it will be my own personal cushion because I still love it!
I just wish I had been a little bit more on the ball and I would have probably recognised it sooner before I had spent my time weeding all the little bits...thats what you get for trying to take the easy way! I had had a terrrible week and was not consentrating as I should due to a close family member leaving this earth....

So I then had to rethink.... and I decided to do a few babygrows (onesies) and I bought these files from the silhouette store...I figured at least you know where these come from and they were quick and very easy ones to weed (yea I know I took the easy option!!!)

 This 1st one was an easy boys one a simple car from the store and it changed the onesie instantly!
 This 2nd one could be for either sex depending on what colour vinyl you used. I chose the pink just because.. I added the bow not just for effect but because I had a slight accident and had a spot of vinyl where it shouldnt have been instant bow instant fix, si guess what happened with the next???


I thought the bows added to this last one. The words file came from the silhouette store and cut beautifully.

Thank you for looking
love debby x

Tuesday 20 May 2014

Playing with alcohol inks

I have been very busy with family matters the last week or so and today I really needed to relax and forget all my troubles and woes. I couldnt concentrate on making a card or even the boxes I wanted to make for my glitters to go into. I needed something tranquil to do... so I got out the alcohol Inks and did a little 'painting with them.

Apart from covering myself with delightful colours this is the painting I ended up with...

 For some reason I dropped the brush and it landed in the middle and gave the dotty-splash of colour and I then chose to do some more dots for interest....

 After it dried I thought it rather looked like a sunflower and I suppose I should have done the flower in browns and oranges, but hey...Im using artistic license here and have a red and purple one instead...I may also add that when I started the flower I had no idea what it would turn out like and was very plleased with it!
 After finishing painting, I did a little more organising of the craft room, and heres a small corner all labelled and sorted. I have found this to be so much help when Im crafting because now I look on the drawer fronts and boxes and know exactly where everything is....I didnt realise just how much crafting time I wasted before looking for things....
If you havent tried alcohol ink painting there are videos on youtube why not have a look and give it a try when you next need to calm...

Thank you for looking
love debby